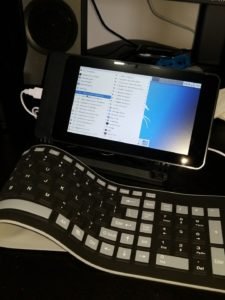
I found some companies that came up with the idea of using a Raspberry Pi as a platform for education as well as a “throw-away” device. One such company offers this exact configuration for a mere $750. So what does Dale do? He does what any respectable hacker does, and reverse engineers the device and discovers that you can build your own “Mobile Hacking Workstation” for under $250 (as of the posting of this entry). I know! You think people should “Storm” (see what I did there?) back and get a refund for spending $750 on something that, to be honest, is easy to build and a BLAST to play around with.
So let me first give you a “build list”. All the products can be purchased via Amazon, although you might find other sources, I’m sticking with Amazon for ease of returns/ordering issues. So here we go:
First, you have to choose between two different models of Raspberry Pi. The “3 B+” is a little faster, includes Bluetooth, but the wifi (as of the writing of this blog) doesn’t work with the Aircrack-ng suite. The straight up “3” doesn’t have Bluetooth, but the wifi chipset works great with Aircrack-ng.
- Raspberry Pi 3 B+ with power and coolers (requires external wifi adapter for “aircrack-ng”, but includes Bluetooth) – https://amzn.to/2OMB3pH
- 7-inch touchscreen – https://amzn.to/2Pjze4H
- A case for the screen and Raspberry Pi – https://amzn.to/2EHRu4b
- Portable Keyboard – https://amzn.to/2Bh9LFO
- Micro SD Card – https://amzn.to/2vQeI3q
- You also might want to pick up a case for your hacking workstation. The best one that I could find is this one: https://amzn.to/2nOCzMB
- I guess you could find a stylus as well, but my fingers work really well on the touchscreen.
- If you want a great WiFi adapter that works great with the “3 B+”, (and almost any laptop), check out https://amzn.to/2PIlXma
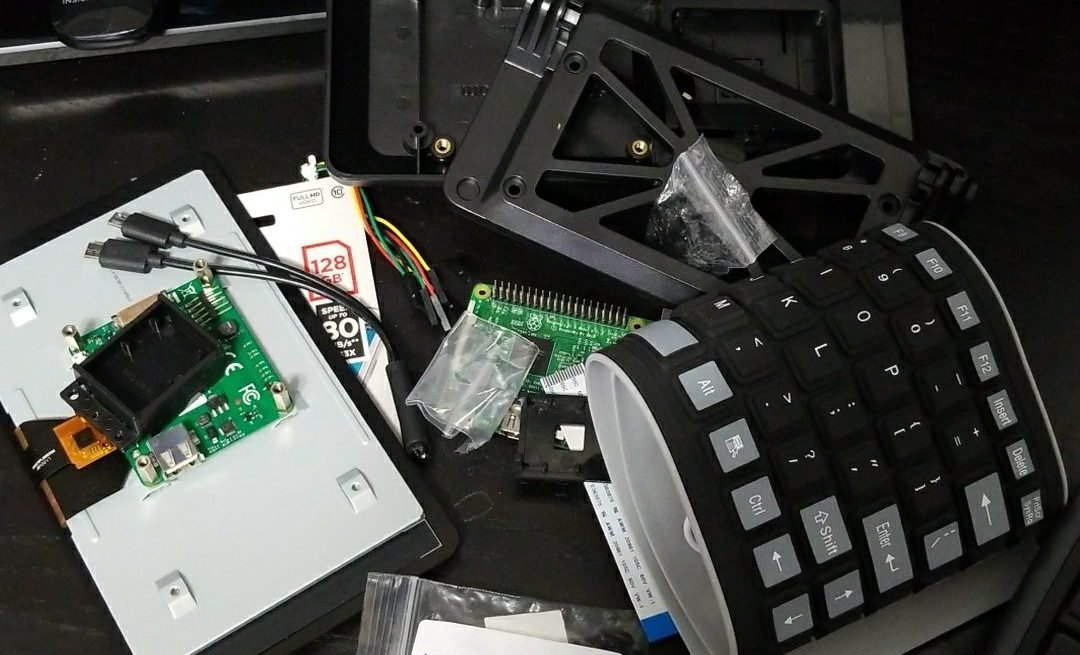
Putting this thing together is really quite simple. Hooking up the screen ribbon to its board and mounting it inside the case is extremely simple.
Next, you need to head over to my friends at Offensive Security and grab the Raspberry Pi image. After you download it, burn it to your microSD card (I use Etcher…it’s short and sweet as far as installation and usage). And then you can just follow along with my video that’s attached to this post and you should be ready to roll.


